
Window Furnishing Installation
You’ve chosen an essential part of your home. Now let’s work together to create it!
The team will be with you every step of the way, so if you’re not sure of what’s required, please contact your local Choices Flooring store at anytime.
Below are some tips on how to prepare for window furnishing installation in your home:
1
Remove existing window coverings.

2
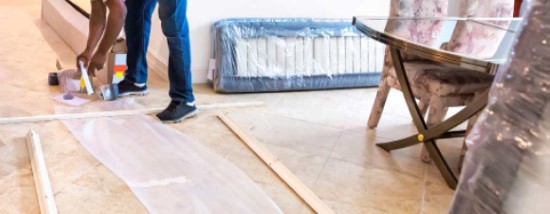
Prepare a space inside or outside your home where our team can unpack products.
Prior to installation, you’ll also need to
1
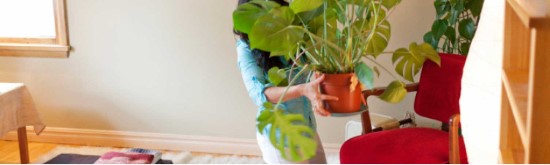
Move furniture away from your windows.

2
Cover nearby furniture.
3
Ensure there’s a clear pathway for installers to move in and out of your home.


4
Make sure power points are accessible and working.
Installation day!
1
Keep children and pets away from the installation area (as exciting as it is, they’ll just have to wait!).


2
Check your installation to make sure your blinds or shutters are working how they should be.
After installation
1
Return your furniture.

2
Show off your new blinds or shutters to your local Choices Flooring team! Send them few happy snaps once you’ve settled in and don’t be shy to share them across Choices Flooring's social media community.
And remember if you’ve had a great experience with us,
please review us on Google!